Creating Depth of Field in Cinema 4D and Redshift
Depth of Field is an essential concept in photography and cinematography. It refers to the distance within which the closest and farthest objects in an image will appear acceptably sharp. When creating 3D illustrations or animation in Cinema 4D and Redshift, adding depth of field can help focus a viewer’s attention on certain elements in an image. In this post, I will show you how to set up your camera and create depth of field in Cinema 4D and Redshift.
In Redshift 3.5.13, you can easily set up depth of field thanks to the built-in settings of the Redshift Camera. In the scene pictured below, I’ve placed some cloners in between a few pairs of elongated cubes that recede slightly into the background.
A look at our scene through the C4D Viewport.
In the Redshift Camera’s ‘Optical’ tab, there are settings you can use to customize the depth of field in your scene. Near the top of the ‘Optical’ tab, you’ll find the Redshift Camera’s Depth of Field settings (underneath the Exposure settings). Within these settings, there are two ways to create and adjust the depth of field in your scene: Using the Focus Distance or using a Focus Object.
Using Focus Distance
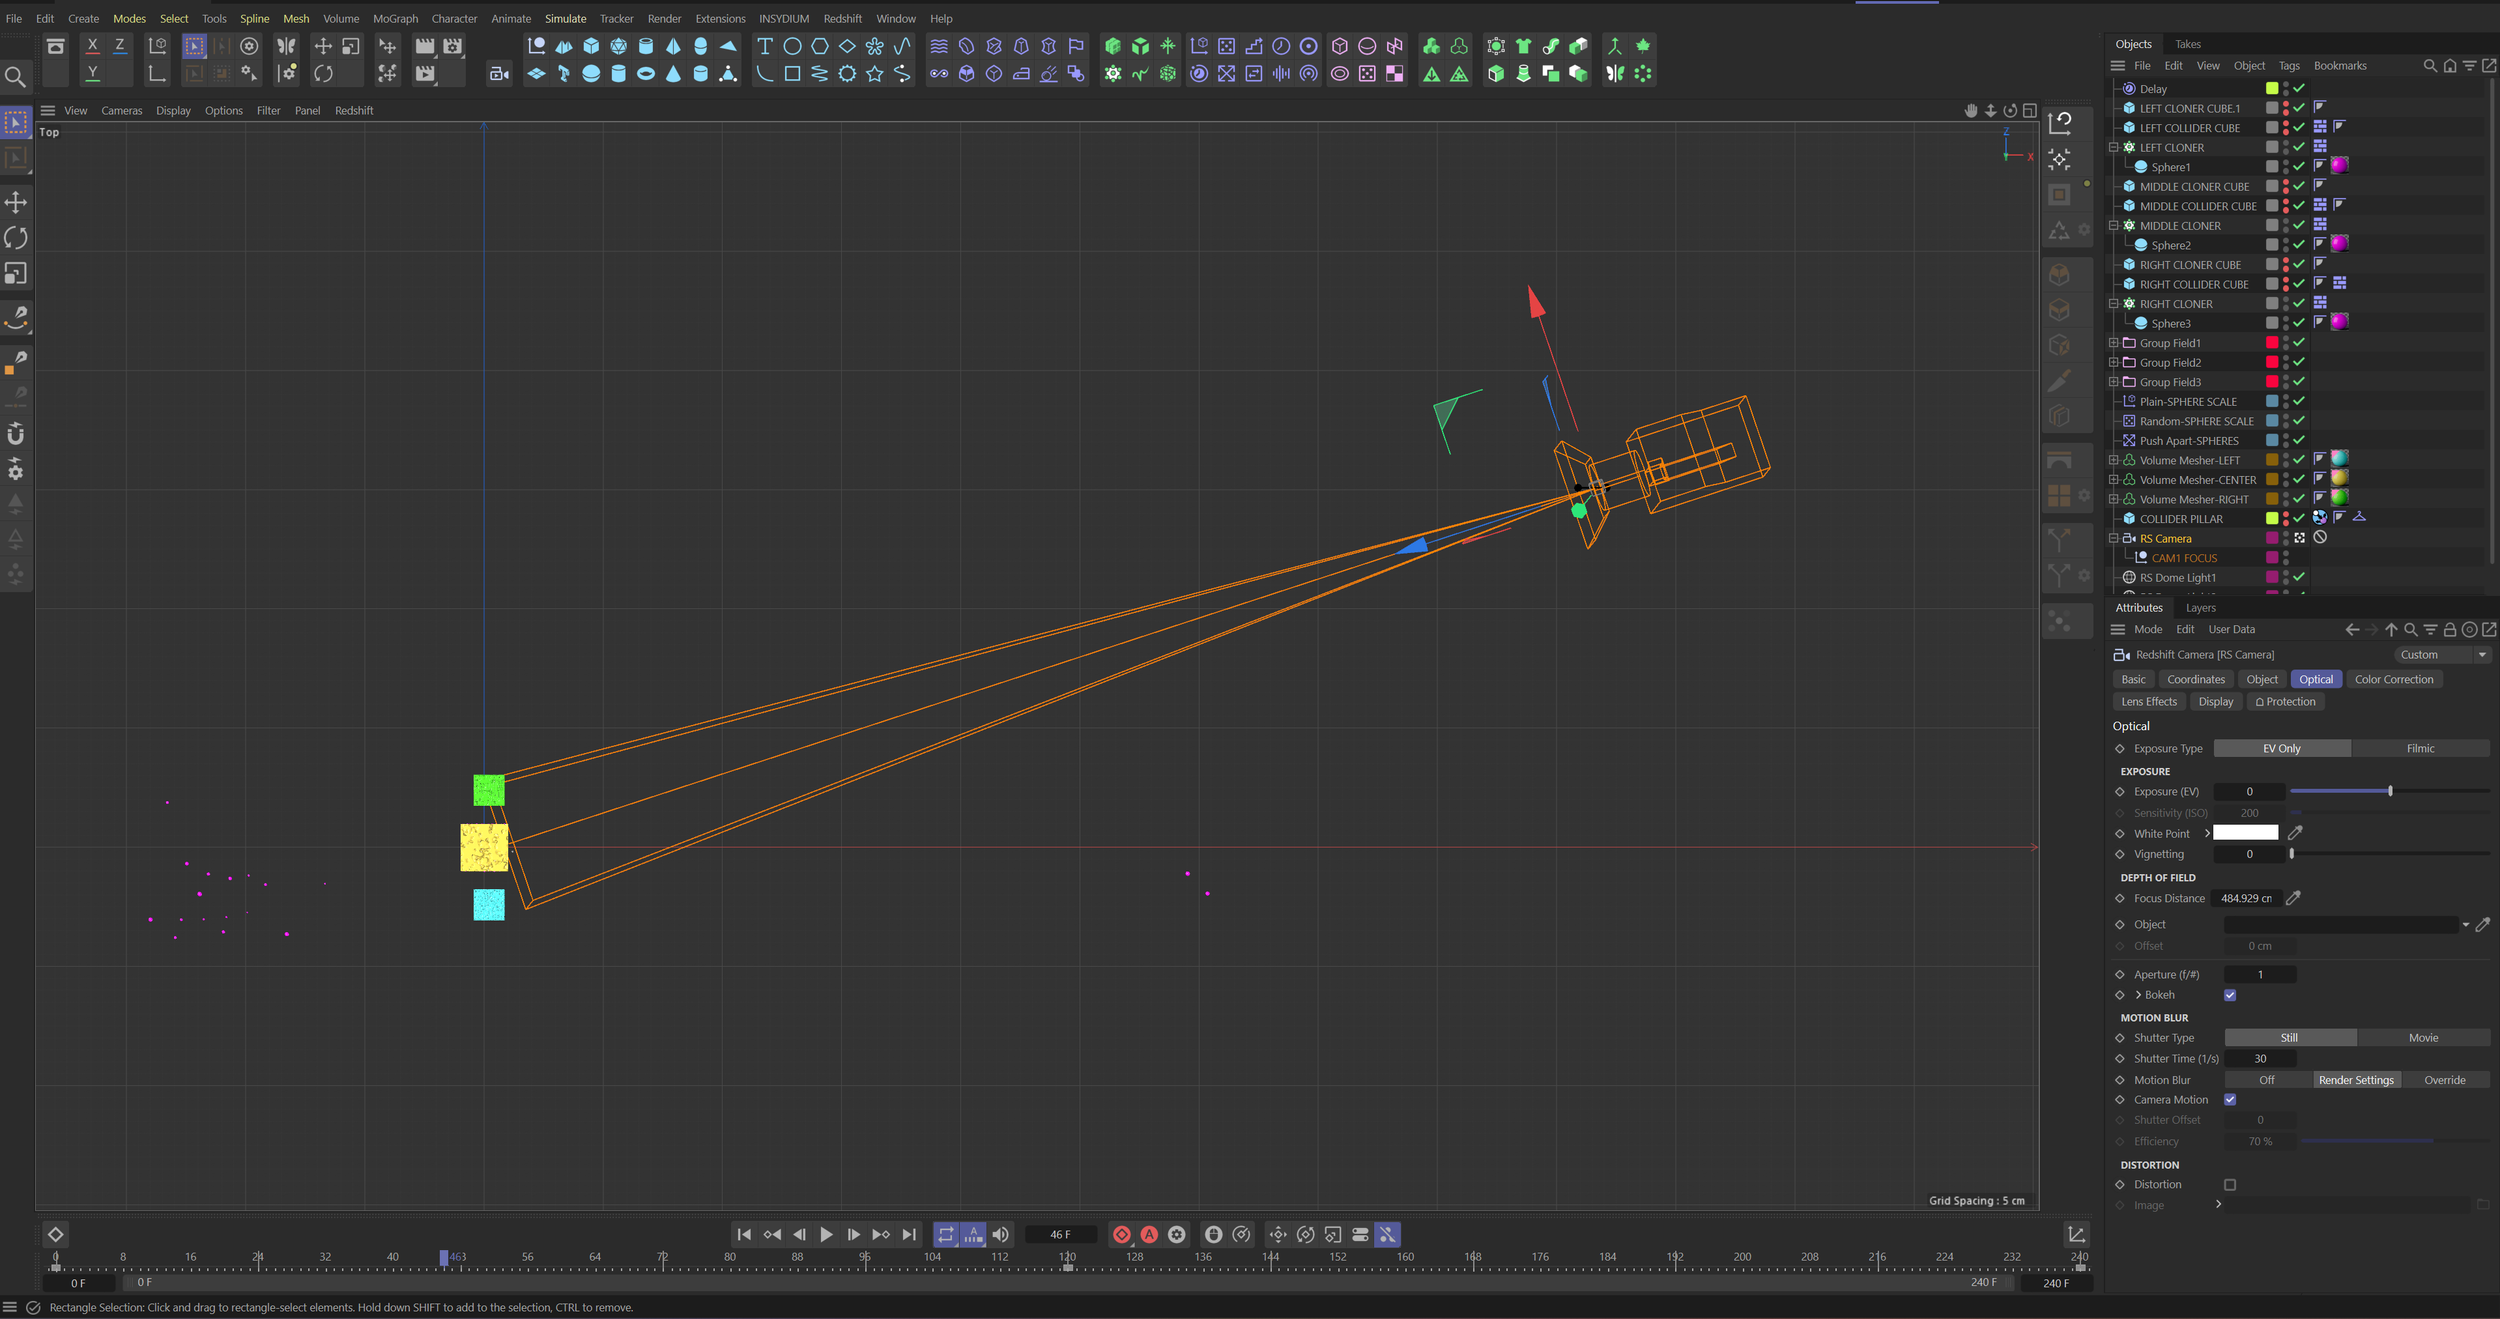
To use Focus Distance, you can simply adjust the value in the menu to achieve the desired result. It can be difficult to get this setting dialed in where you want if you are looking through the view of the camera. Instead, switch to your Top and Side views and you will be able to see the Focus Distance change as you adjust the value. The flat plane visible at the end of the camera’s view (visible below in orange) represents the Focus Distance. Any objects in the scene that are in front of or behind this plane will be blurred.
Top View showing the Focus Distance plane at the very end of the Redshift Camera’s view.
Using a Focus Object
You can also use an object to set up your focal distance. In the Redshift Camera’s ‘Optical’ tab under the Depth of Field settings, there is a field where you can drag an object whose position will be used to set the focus distance of your camera.
In the scene below, I have created a Null Object named “CAM1 FOCUS” to use as the Focus Object. In the image, you can see the transform axis of the Null Object right around the front edge of the bottom yellow cube shape near the center of the scene.
The transform axis of the Focus Object is visible near the front edge of the yellow cube shape.
With the Null Object placed in our scene and set as the Focus Object for our Redshift Camera, any objects in the scene that are in front of or behind it will be blurred depending on the Aperture value. The Aperture setting allows us to control the intensity of the blur.
Aperture
In real-world cameras, the Aperture controls how much light can pass through a camera’s lens. Adjusting the Aperture setting (along with other camera settings…) will have an effect on the depth of field in the image.
The Aperture settings work in a similar way in the Redshift Camera. Lower Aperture values will produce a more shallow depth of field (more blur in front and behind the Focus Distance/Object) while higher values will produce a much greater depth of field (less blur in front of and behind the Focus Distance/Object).
In the image below, the Aperture is set to a value of 10 and there is little to no blur in front of or behind the Focus Object.
In this image, the Redshift Camera Aperture value is set to 10.
I the image below I lowered the Aperture setting to 1, which produces an extreme blur in front of and behind our Focus Object.
In this image, the Redshift Camera Aperture value is set to 1.
Depending on what kind of image you want to produce, you may want a very shallow depth of field with a lot of blur like the above image. But for me, the blur in this image is so extreme that it feels unnatural and distracting.
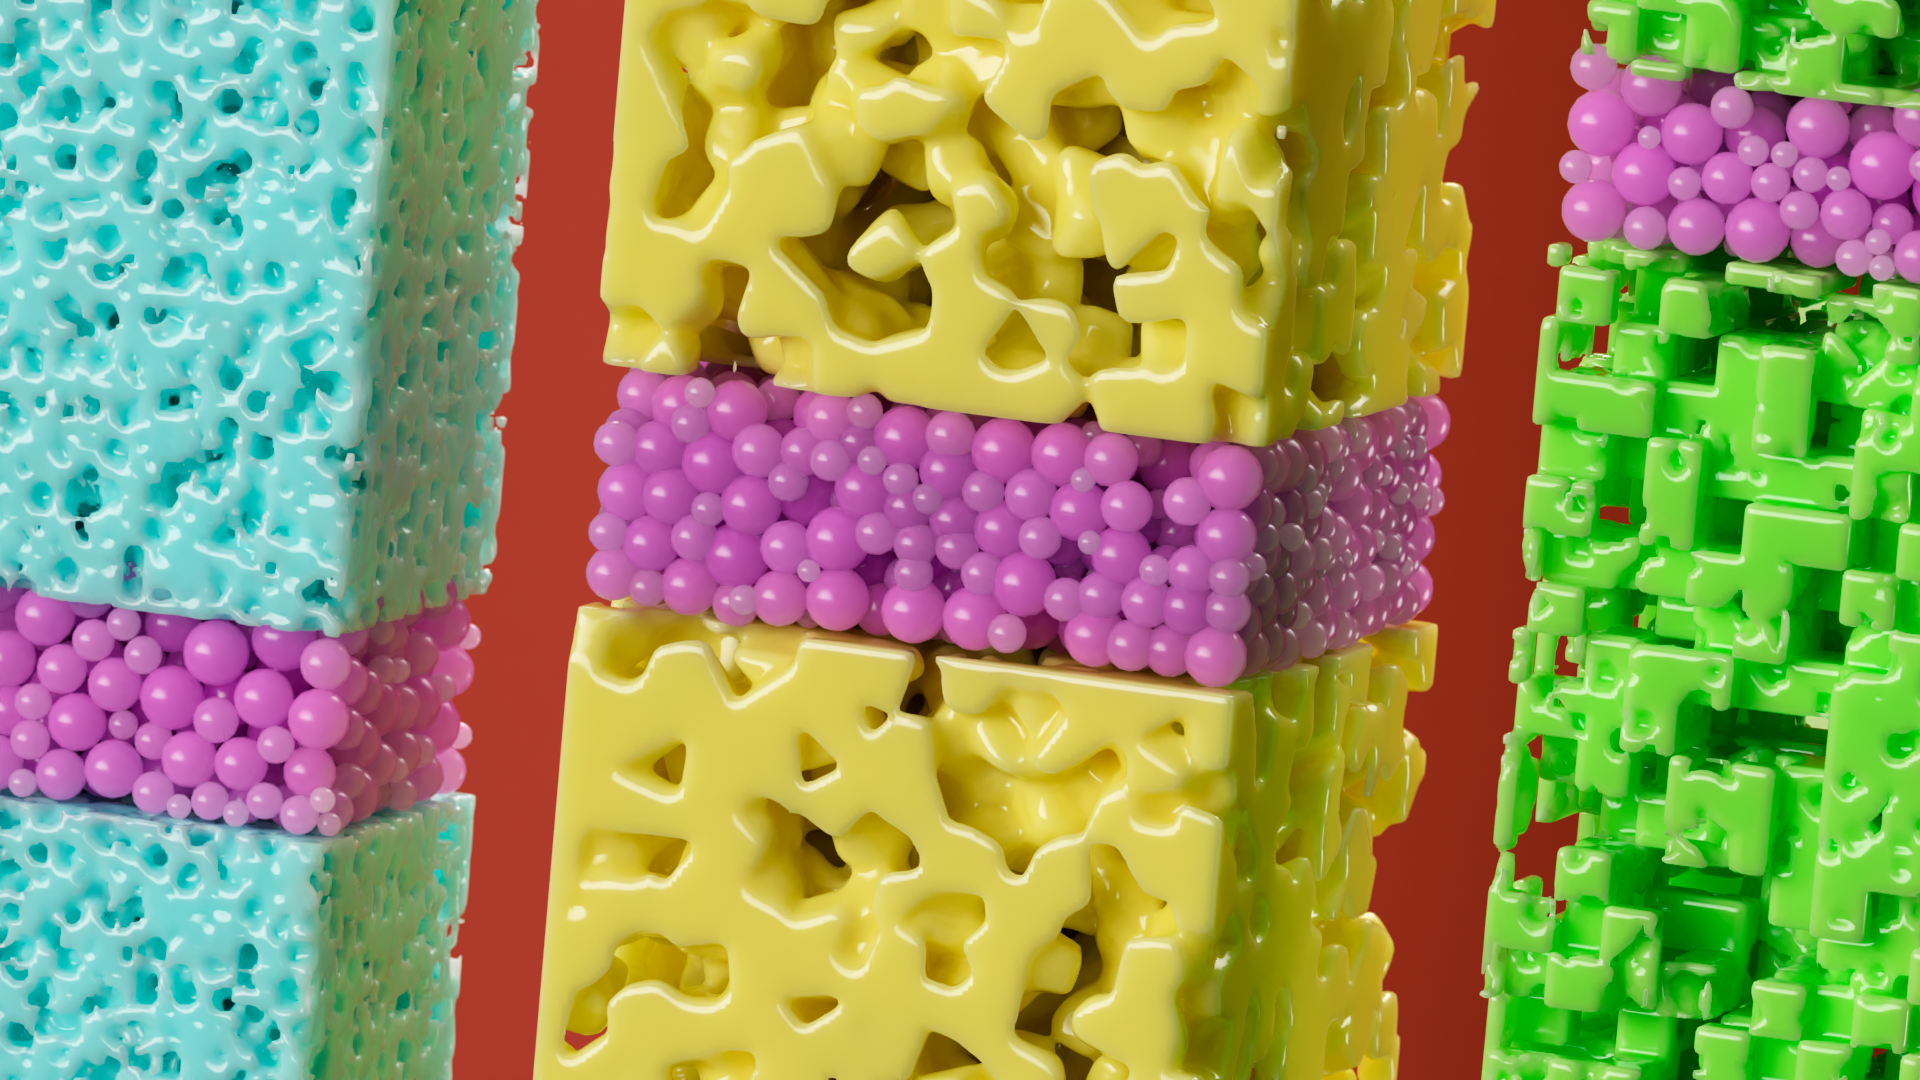
In the final image below, I increased the Aperture value to 3 which results in a more subtle blur and, to me, a much more pleasing image.
In this image, the Redshift Camera Aperture value is set to 3.
In my next post, I’m going to talk about how to use with Redshift with Cinema 4D cloners. I’m going to go over how to use Color User Data to add random colors to clones.


